iPhoneography Insights: No Focus

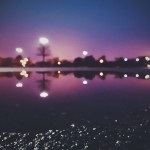
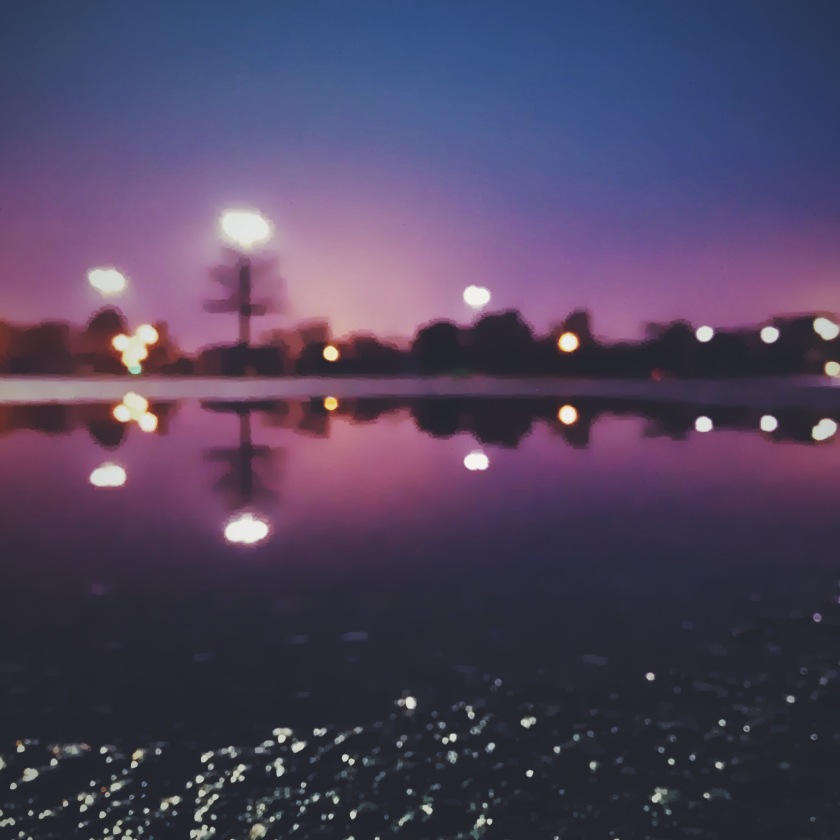
When I came upon this puddle there wasn’t anything too special about it. But the sun had just set, and I liked the colors in the sky.

In this post I’ll show you how I used Mextures to take the colors up a notch and create a surreal result.

iphoneography-insights-no-focus-1

I took a few photos and didn’t review them on the spot since I was in a rush. Out of all the photos taken, I actually liked this one even though it’s out of focus. That’s where I got the title after all. 😉

I applied the “Dusk” gradient to both the top and bottom of the image. Notice the different orientations in the screenshot on the right.

After exporting from Mextures, I reduced the noise using the “Smooth” feature in Pixlr. Too much smoothing can ruin an image, but, since this one is out of focus, it worked out really well. Lastly, I finished it off with a preset from VSCO Cam that really brought out the purple.

Check out more iPhoneography Insights here.

And don’t forget to follow me on Instagram!
Film Rekindled: Highlights From My Tenth Roll

After returning from California in my last roll, I was eager to get back to photographing New Orleans. Below are mostly photos created in the French Quarter. I continue trying to improve my street photos, and I even brought the camera out at night.

Good morning Kelsey. | f/2.8 | 1/45 sec

1/60 sec

Royal Street. | f/2.8

Dat Dog on Magazine St.

f/2.5

Capturing the sunset on Jackson Square. | f/4 | 1/45 sec

f/1.8 | 1/90 sec

Crescent City Books. | f/1.8 | 1/8 sec

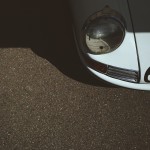
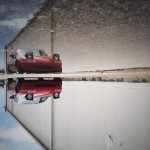
Civic Coupe. | f/1.8

Gear used:

Check out more from Film Rekinded here.

When You Don’t Have Your Camera With You

I wish I would’ve brought my camera along, now I’m stuck with this crappy cell phone shot!

This is often proclaimed by the photographer with more capable gear that’s been left at home. I know how you feel. There have been plenty of instances where I’d wish I had my DSLR or film camera with me:

  • When I see a perfect sunset
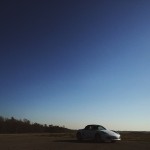
  • When I spot a cool car
  • When I’m in low light
  • When the subject is far away
  • When I want to take a portrait of someone on film (Because it’s cool and the colors look good)

The situations I’m describing aren’t even that bad though. And I’ve learned to not spend a moment in regret. Because, here’s the thing, the phone is a camera too. Quite a capable one. The best if you ask me.

Instead of spending a moment in regret and maybe not taking a photo, I take a moment to be grateful.

  • Grateful for being alive
  • Grateful for being able to see and move
  • Grateful for the challenge of creating an awesome photo with my current constraints/limitations

Even if I didn’t have my phone with me, I embrace the opportunity to improve my Vision. I take the shot with my mind.

Maybe it won’t last as long.

Maybe it will.

The last thing I want is sight without the ability to seeVision, it’s more than sight.

Created with the iPhone.

Created with the iPhone 5S.

What do you do when you don’t have your camera with you?

iPhoneography Insights: Wispy

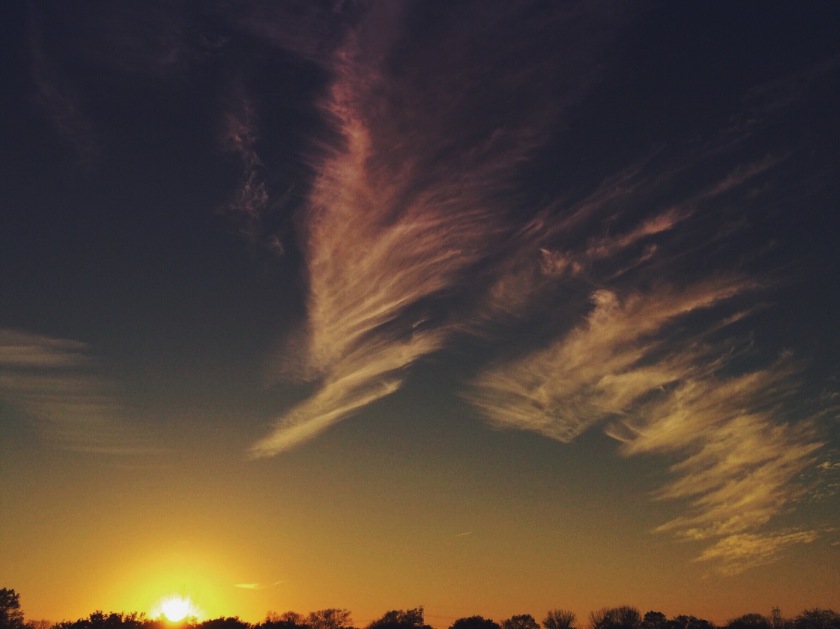
As you can tell from the title, the wispiness of the clouds definitely made this photo a great capture. But I wanted to take this opportunity to have a little more fun with it and give you a brief demonstration of how I use one of my favorite apps — Mextures.

According to the app’s description, Mextures is the best app for applying film grain, textures, light leaks, and beautiful gradients to your images in seconds.

I waited for the sun to reach the horizon.

I waited for the sun to reach the horizon.

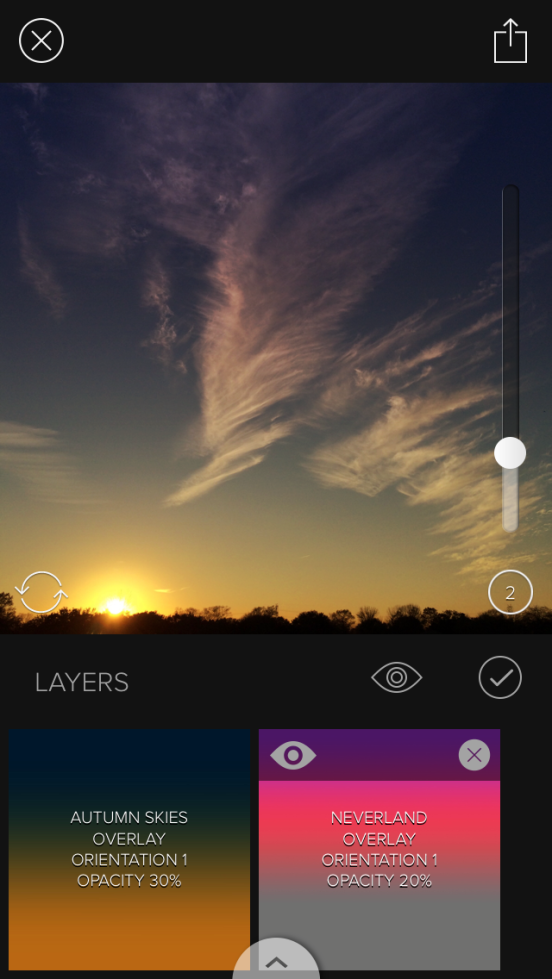
As you’ll see in the screenshot below,  the first gradient I used amplifies the warmth of the sky. The second gradient was used to add more color to it.

One of the awesome features of the app is that it allows you to perform non-destructive edits, i.e., you can go back and change how strong/soft you want the gradient to be.

iphoneography-insights-wispy-2

After editing the photo in Mextures, I put the finishing touches using a filter in VSCO Cam.

View the apps in iTunes:

Check out more iPhoneography Insights here.

And don’t forget to follow me on Instagram!
The Three Qualities of the Best Camera

What makes a camera the best?

Is it…

  • the amount of frames it can shoot per second?
  • the amount of megapixels it has?
  • how far it can zoom?

These are some common considerations.

But what makes a camera the best can be much simpler than that.

The best camera is the one that’s with you.

– Chase Jarvis

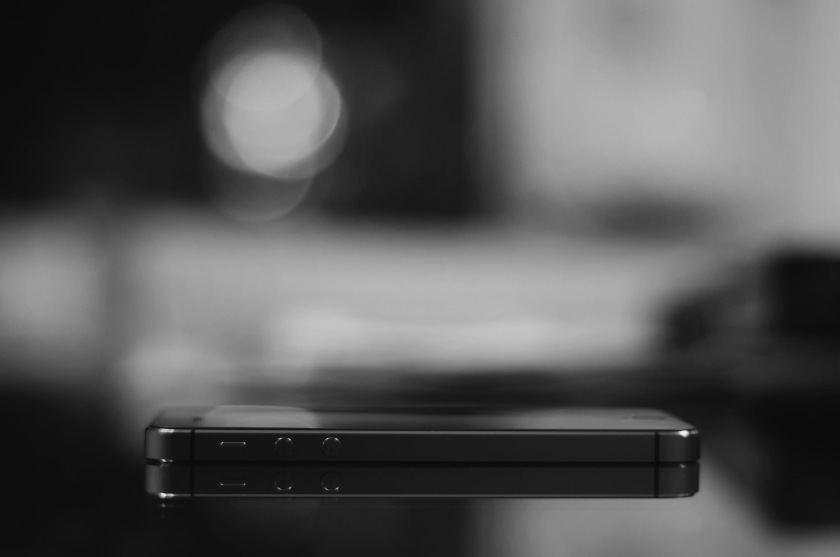
It is, isn’t it? I couldn’t agree with Chase more. For many of us, that camera would be our smartphone. It certainly is for me. Below, I go deeper on the three qualities that make a camera the best:

  1. It’s always with you. Since my smartphone is my primary source of communication, I can’t have it anywhere but with me. No matter how much I’d try, my DSLR/film camera would not always be with me. I wouldn’t carry it around work all day. I wouldn’t bring it out in the rain. The list goes on.
  2. It’s always ready. Since my smartphone is always with me, being ready is as quick as taking the phone out of my pocket and swiping once. Smartphones were not always this way. I used to have to swipe, enter a pin/password if required, and then launch the camera app. Three steps. The fact that both Android and iOS have made it quicker to access the camera is a testament to the vital role of photography for smartphones.
  3. It creates an environment for photography. Since my smartphone is always with me and always ready, it’s difficult to not take a photo. Not to mention, settings (e.g., aperture and shutter speed) are nowhere to be found. It effectively eliminates the littles obstacles.

Don’t get me wrong, I love my DSLR and film cameras and I bring them with me when I intend to. But my iPhone is with me way more than any other device in my life. And it’s encouraged me to create so many more photos than I ever imagined I would.

Most of these were created last month on my Instagram.

What’s your best camera? Feel free to post a link to some shots you’ve created with it as well.

Film Rekindled: Highlights From My Ninth Roll

This roll of Fuji Superia is all about my trip to California in July 2014. It was my first time being there so you can imagine the excitement. I brought along a 4-pack but ironically ended up not even shooting an entire roll.

I was able to record the settings for all the photos this time around. Even though I just said that shooting film is an event for me and I often don’t remember the settings I use, I still try to record them when I’m able to in case there’s anything to learn or improve.

In this case, I used f/8 and f/16 a lot for this roll because I wanted to see how that aperture looks, but also just because it was sunny.

M3. | f/8 | 1/180 sec

Santa Clarita, CA. | f/8 | 1/750 sec

Horseback. | f/8 | 1/1000 sec

A very willing and happy subject at Rocken P Outfitters. | f/8 | 1/500 sec

From the hiking path near the Griffith Observatory. | f/16 | 1/350 sec

R8. | f/4 | 1/750 sec

Santa Monica Pier. | f/16 | 1/250 sec

Lissy. | f/8 | 1/500 sec

Lissy. | f/8 | 1/500 sec

View of LA from the Getty Museum. | f/16 | 1/350 sec

In the shade. | f/16 | 1/250 sec

Gate D1. | f/8 | 1/250 sec

Gear used:

Check out more from Film Rekinded here.

Timelapse: Breakwater Park

I haven’t used my GoPro much since I tried out long exposures (here and here), and it’s probably because it’s quite a chore to setup. Fiddling around with the mounts and configuring them for different scenarios is enough of a hindrance.

Not so minimalist.

But I plan on using it again, and more often, since my brother got me a new accessory for Christmas.

For now, let’s revisit an old timelapse that took a little over an hour to capture (from 6:46 to 8:07 AM).

After the video, I’ll tell you a couple of things I did to improve it.

You don’t see it in the video, but there were a lot of birds flying around. Since timelapses are essentially a series of photos taken on a set interval (e.g., every 1, 5, or 10 seconds), you can delete all the ones you don’t want.

In this case, I deleted all the photos with birds so they weren’t included in the final video.

Flock, be gone.

Birds, be gone.

In the image above, you can also see how distorted the horizon is compared to the video. This is where the GoPro Studio software comes in. There’s an option to remove the fisheye effect that is pretty much guaranteed with the GoPro’s wide lens. [1]

Do you timelapse? If so, what device do you use?

And if you want to check out more GoPro posts, find them here.

Sources:

1. How Can I Remove the Distortion (Fisheye) Effect in GoPro Studio? (GoPro Support)