iPhoneography Insights: No Focus

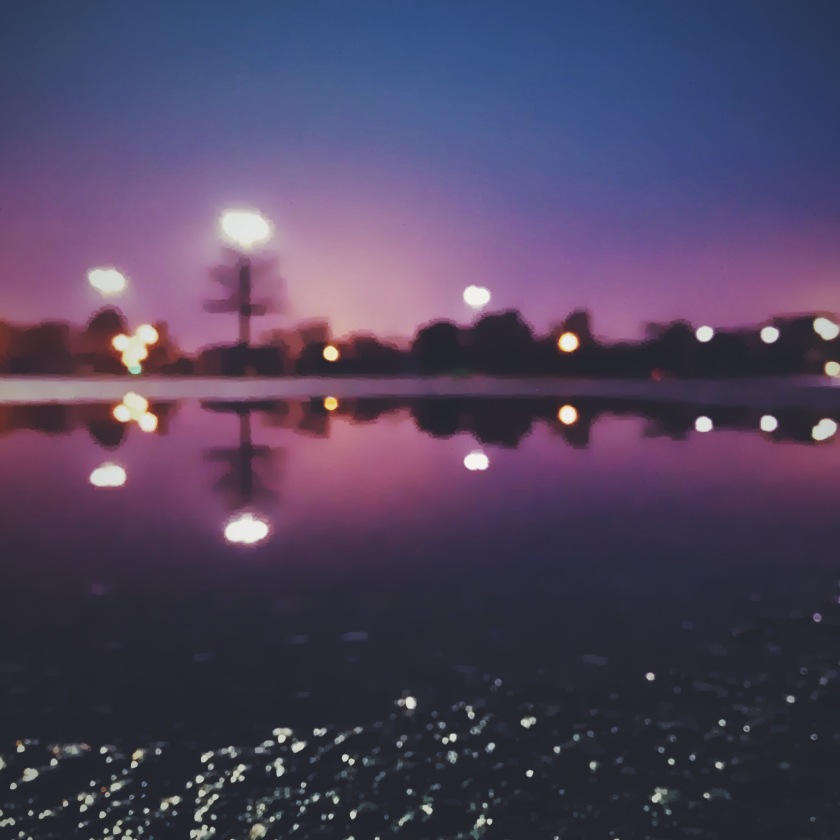
When I came upon this puddle there wasn’t anything too special about it. But the sun had just set, and I liked the colors in the sky.

In this post I’ll show you how I used Mextures to take the colors up a notch and create a surreal result.

iphoneography-insights-no-focus-1

I took a few photos and didn’t review them on the spot since I was in a rush. Out of all the photos taken, I actually liked this one even though it’s out of focus. That’s where I got the title after all. 😉

I applied the “Dusk” gradient to both the top and bottom of the image. Notice the different orientations in the screenshot on the right.

After exporting from Mextures, I reduced the noise using the “Smooth” feature in Pixlr. Too much smoothing can ruin an image, but, since this one is out of focus, it worked out really well. Lastly, I finished it off with a preset from VSCO Cam that really brought out the purple.

Check out more iPhoneography Insights here.

And don’t forget to follow me on Instagram!
iPhoneography Insights: Wispy

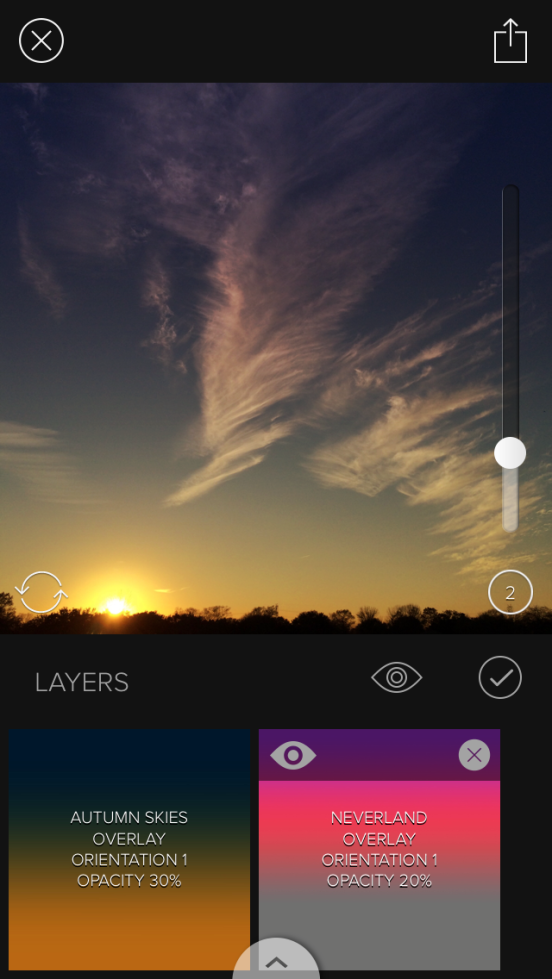
As you can tell from the title, the wispiness of the clouds definitely made this photo a great capture. But I wanted to take this opportunity to have a little more fun with it and give you a brief demonstration of how I use one of my favorite apps — Mextures.

According to the app’s description, Mextures is the best app for applying film grain, textures, light leaks, and beautiful gradients to your images in seconds.

I waited for the sun to reach the horizon.

I waited for the sun to reach the horizon.

As you’ll see in the screenshot below,  the first gradient I used amplifies the warmth of the sky. The second gradient was used to add more color to it.

One of the awesome features of the app is that it allows you to perform non-destructive edits, i.e., you can go back and change how strong/soft you want the gradient to be.

iphoneography-insights-wispy-2

After editing the photo in Mextures, I put the finishing touches using a filter in VSCO Cam.

View the apps in iTunes:

Check out more iPhoneography Insights here.

And don’t forget to follow me on Instagram!

iPhoneography Insights: Line Break

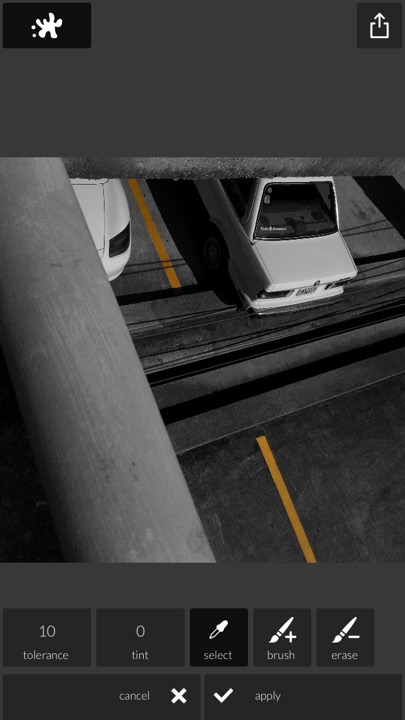
Whenever I do a colorsplash, or selective coloring, it most often involves a car and its tail lights.

They’re fun to make stand out. Plus, I love red. But this time around, yellow caught my eye. I’ll show you how I used VSCO Cam and Pixlr to create the Line Break.

Straight out of the camera.

Pixlr is usually step one when I’m doing a colorsplash. The feature inside the app is actually called just that, Splash. Sometimes the app will be able to do most of the work for you (i.e. you select a yellow spot and everything that’s not yellow becomes monochrome). Other times, you’ll have to use brush and erase to make your selection because the app can’t distinguish correctly.

To finish it off, I picked a preset from VSCO Cam that added more contrast and mood. It was one from the “Street Etiquette” pack if I remember correctly.

View the apps in iTunes:

Check out more iPhoneography Insights here.

And don’t forget to follow me on Instagram!

Photo-essay: Creative Feast at the Ogden

Despite being a native New Orleanian, I’ve never been to the Ogden Museum. It was the last day for a PhotoNOLA exhibition called Self Processing: Instant Photography. And although I was eager to see the instant photographs and cameras, the museum itself provided a creative feast both outside and in.

This is the renowned ‘Before I die’ wall, where visitors may express something from their bucket list. Fortunately, the rain from the day before left a puddle.

Red.

Going up.

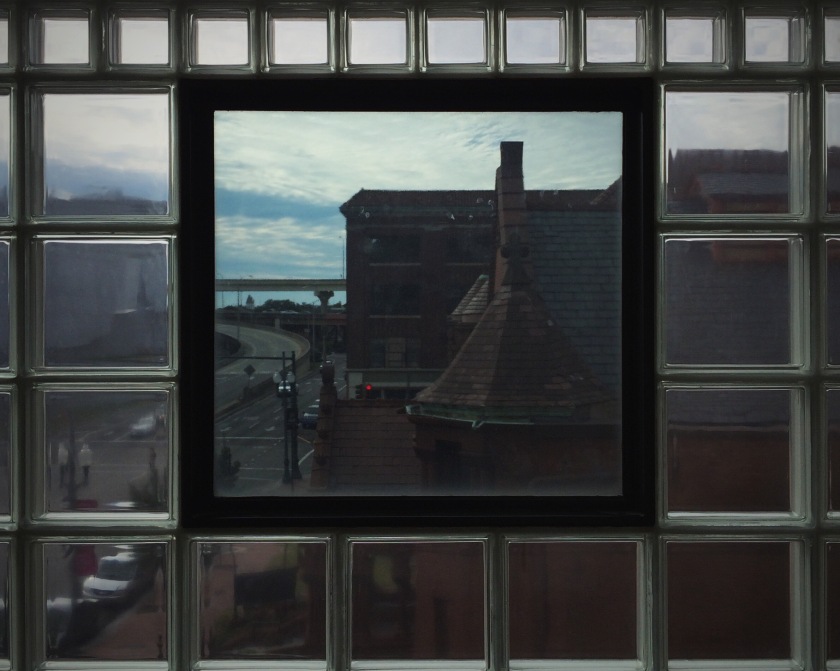
Frame in frame, rectangles, and squares.

Silhouette and shadow.

This is where admission stickers go when you leave.