Film Rekindled: It’s An Event

This post was inspired by a question from a fellow enthusiast.

https://twitter.com/techminimalist/status/562741164181561345

As I was typing my response, I realized that I haven’t done this type of introspection since the eighth month mark. Even though it’s a good list, I wanted to go deeper since all of the bullet points are part of a larger reason why film is special to me.

To briefly expand on the four points:

  • It’s meditative because I have to make each shot count.
  • I shoot less than digital because there’s a tangible cost to each shot, which further magnifies the need to make each one count.
  • Chimping in photography means reviewing the photo right after you take it, which isn’t possible with film. This adds to the meditative aspect; I’m forced to focus on the present.
  • I enjoy that I don’t have to do any processing. Just drop the film off at the lab and look forward to seeing the results.

If you’re thinking you can do these four things with digital, you’re right. But the key distinction is that it’s a simulation, especially with the last two.

With film, I don’t have a choice. I can’t immediately see the photos I take. I can’t change the look of a film.

This is not film versus digital. This is a case for film photography. It doesn’t have to be one or the other.

For me, it’s something that I schedule. Something that is refreshing. Something that I look forward to. It becomes an event.

This quote comes to mind:

At the end of the day people won’t remember what you said or did, they will remember how you made them feel.

– Maya Angelou

I’m sure Maya wasn’t referring to film photography. But the parallel is there. When I think back on my outings with my film camera, I often don’t remember the settings (e.g., aperture and shutter speed) I used. Instead, I remember how much I enjoyed walking around in search of a great photo and feeling inspired to create.

Do you shoot only film or digital, or both? And is it an event for you? Let me know in the comments.

And check out more from Film Rekinded here.

Photo-essay: Creative Feast at the Ogden

Despite being a native New Orleanian, I’ve never been to the Ogden Museum. It was the last day for a PhotoNOLA exhibition called Self Processing: Instant Photography. And although I was eager to see the instant photographs and cameras, the museum itself provided a creative feast both outside and in.

This is the renowned ‘Before I die’ wall, where visitors may express something from their bucket list. Fortunately, the rain from the day before left a puddle.

Red.

Going up.

Frame in frame, rectangles, and squares.

Silhouette and shadow.

This is where admission stickers go when you leave.

Photo-essay: Exhibit BE

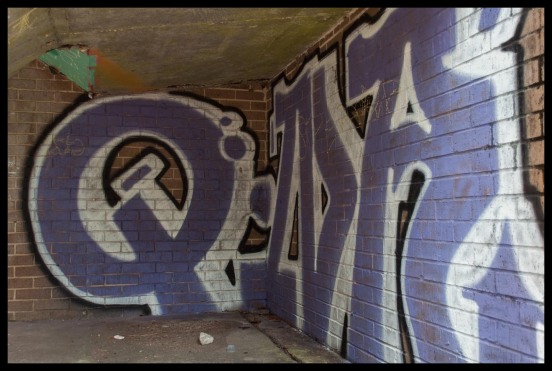
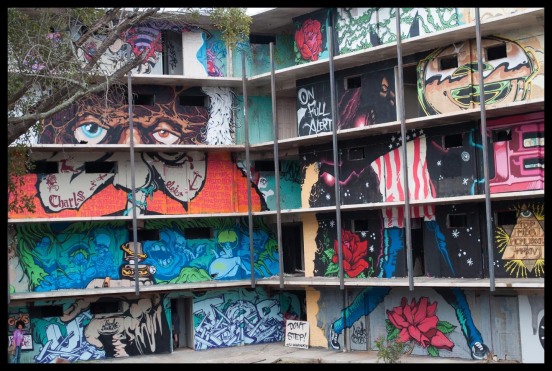
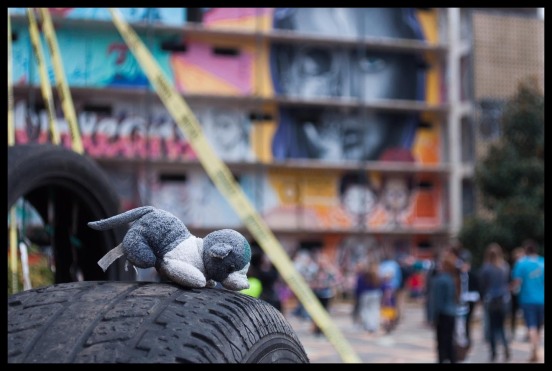
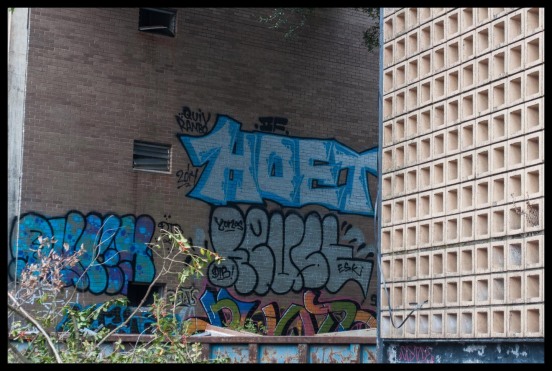
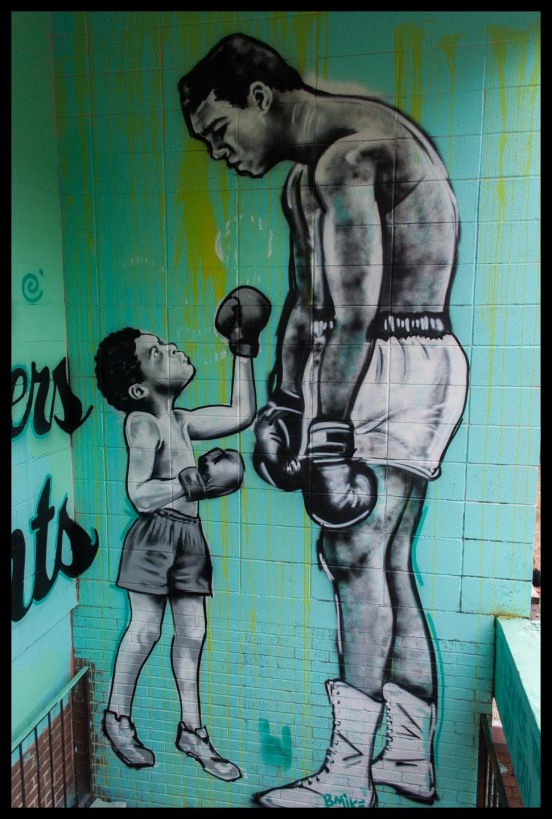
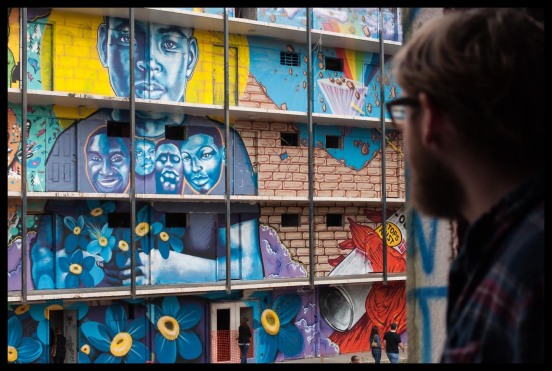
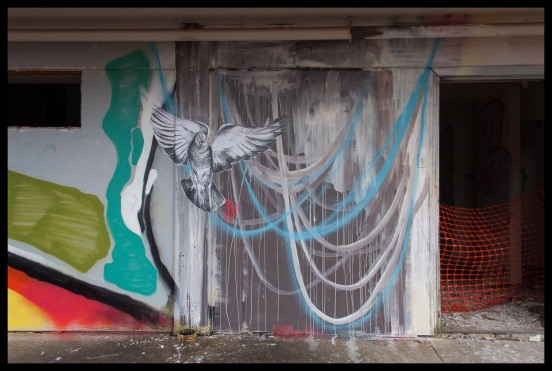
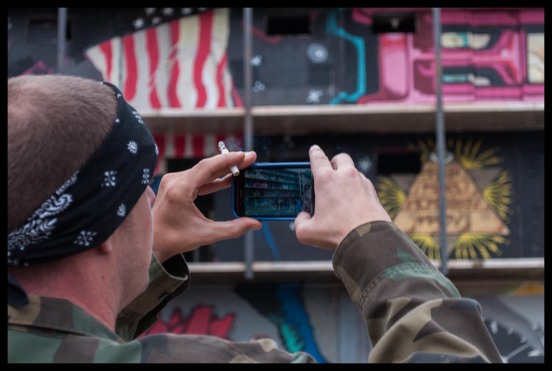
I’ll be the first to admit I’m not in-the-know when it comes to the street art scene here in New Orleans. About an hour before the doors opened today, my girlfriend mentioned me in an Instagram post. Once I saw “giant street art installation” and “old apartment building,” I knew I had to see it for myself.  It was what I had expected and more. I aimed to capture the artworks that spanned multiple levels, the decay of the apartment units, the intricate details, and the people that came to enjoy one of the largest street art galleries in the South.

Film Rekindled: Highlights From My Seventh Roll

They say the longer you sit on your photos, the more objective you become. Since there’s more time between when a shot is taken and reviewed, selecting the best ones to share should be an easier task. Although a photo’s success is mostly subjective, I think the process of selecting which photos to share will help build my editing muscle. That is, over time I hope to become more ruthless with my selections and be more willing to “kill my babies.”  With that said, I’m going to only show 12 out of 24 images from each roll going forward.  The ones not chosen won’t be relegated to my hard drive forever though; they may show up as part of a larger project in the future.

This set has photos dating back to the French Quarter Festival in April and a couple of shots taken in Washington, D.C. in May. All photos were taken on another roll of Fuji Superia 400 with my Canon Rebel X and 50mm lens.


75500015


View more from this project here.

A Few Panning Shots from the iPhone 5S

Panning is a photography technique that’s typically associated with “real” cameras, at least the ones that let you control the shutter speed. Smartphones traditionally didn’t allow users to fiddle with that setting.

But, thanks to apps like Slow Shutter Cam, the panning technique can be achieved.


After using it during my recent trip to DC, it seems as if the longer shutter speed is being simulated since you can also control how much blur you want. I found the best results came from using shutter speeds at the faster end of the spectrum (i.e. 1/4 or 1/2 second) while varying the blur strength based on your goal.

Photo Tip: Get Closer for a Better Composition

I’ve written about stepping back for a better composition in a previous photo tip. This time around, I got a little closer instead. Both tips pretty much have the same message, adding something in the foreground to create depth and interest. In this case, I noticed the water hitting the steps and went down to freeze it at 1/4000 of a second.

This post also marks my making an effort to use manual mode more often. Even though we can modify images with our editor of choice, it’s good to get it right in-camera. Both photos above are straight out of the camera. Getting comfortable with having full control over the exposure and using methods such as the Sunny 16 Rule will allow me to eventually be comfortable enough to use manual mode on my film camera.

Long Exposure with a GoPro

This post is inspired by Digital Photography School’s weekly photo challenge theme, fast cars. Initially, I thought about doing some panning, but I wanted to try something new — shooting from inside a moving car.

After searching around, I found a post on light painting with a GoPro Hero 3 Black, the generation before the current model. The post details the entire process, but my main takeaway was this:

A new feature to this model is that the exposure will lock in time-lapse interval mode (stills). So if you want to do light painting, you need to get the longest possible exposure, which is a half second at 2.8 at ISO 400. [1]

I had a lightbulb moment and immediately wanted to get out and try it after reading that post. I know my Hero 3+ Silver Edition also has a fixed f/2.8 aperture, and I’ll assume the ISO is the same as well.

Without knowing the shutter speed’s upper bound and whether or not this model has exposure lock, I figured the camera would still do a longer exposure due to low-light conditions.

This is the result of setting the timelapse interval to 10 seconds and going for a drive.

View the current crop of GoPro cameras on Amazon.

Sources:

  1. How To Light Paint With A GoPro Hero3 Black (GetawayMoments)

A Few HDR Shots from the iPhone 5s

The weather could not be any better yesterday; I had to go for a walk. The sun was out with temperatures in the 50s and, as you can see, there were plenty of clouds to add texture to the sky. Unlike software effects that can simulate the look, the HDR mode on the iPhone 5s actually takes multiple images and blends them together to achieve the proper exposure in both the light and dark areas.